Access Denied
IMPORTANT! If you’re a store owner, please make sure you have Customer accounts enabled in your Store Admin, as you have customer based locks set up with EasyLockdown app. Enable Customer Accounts
Blog
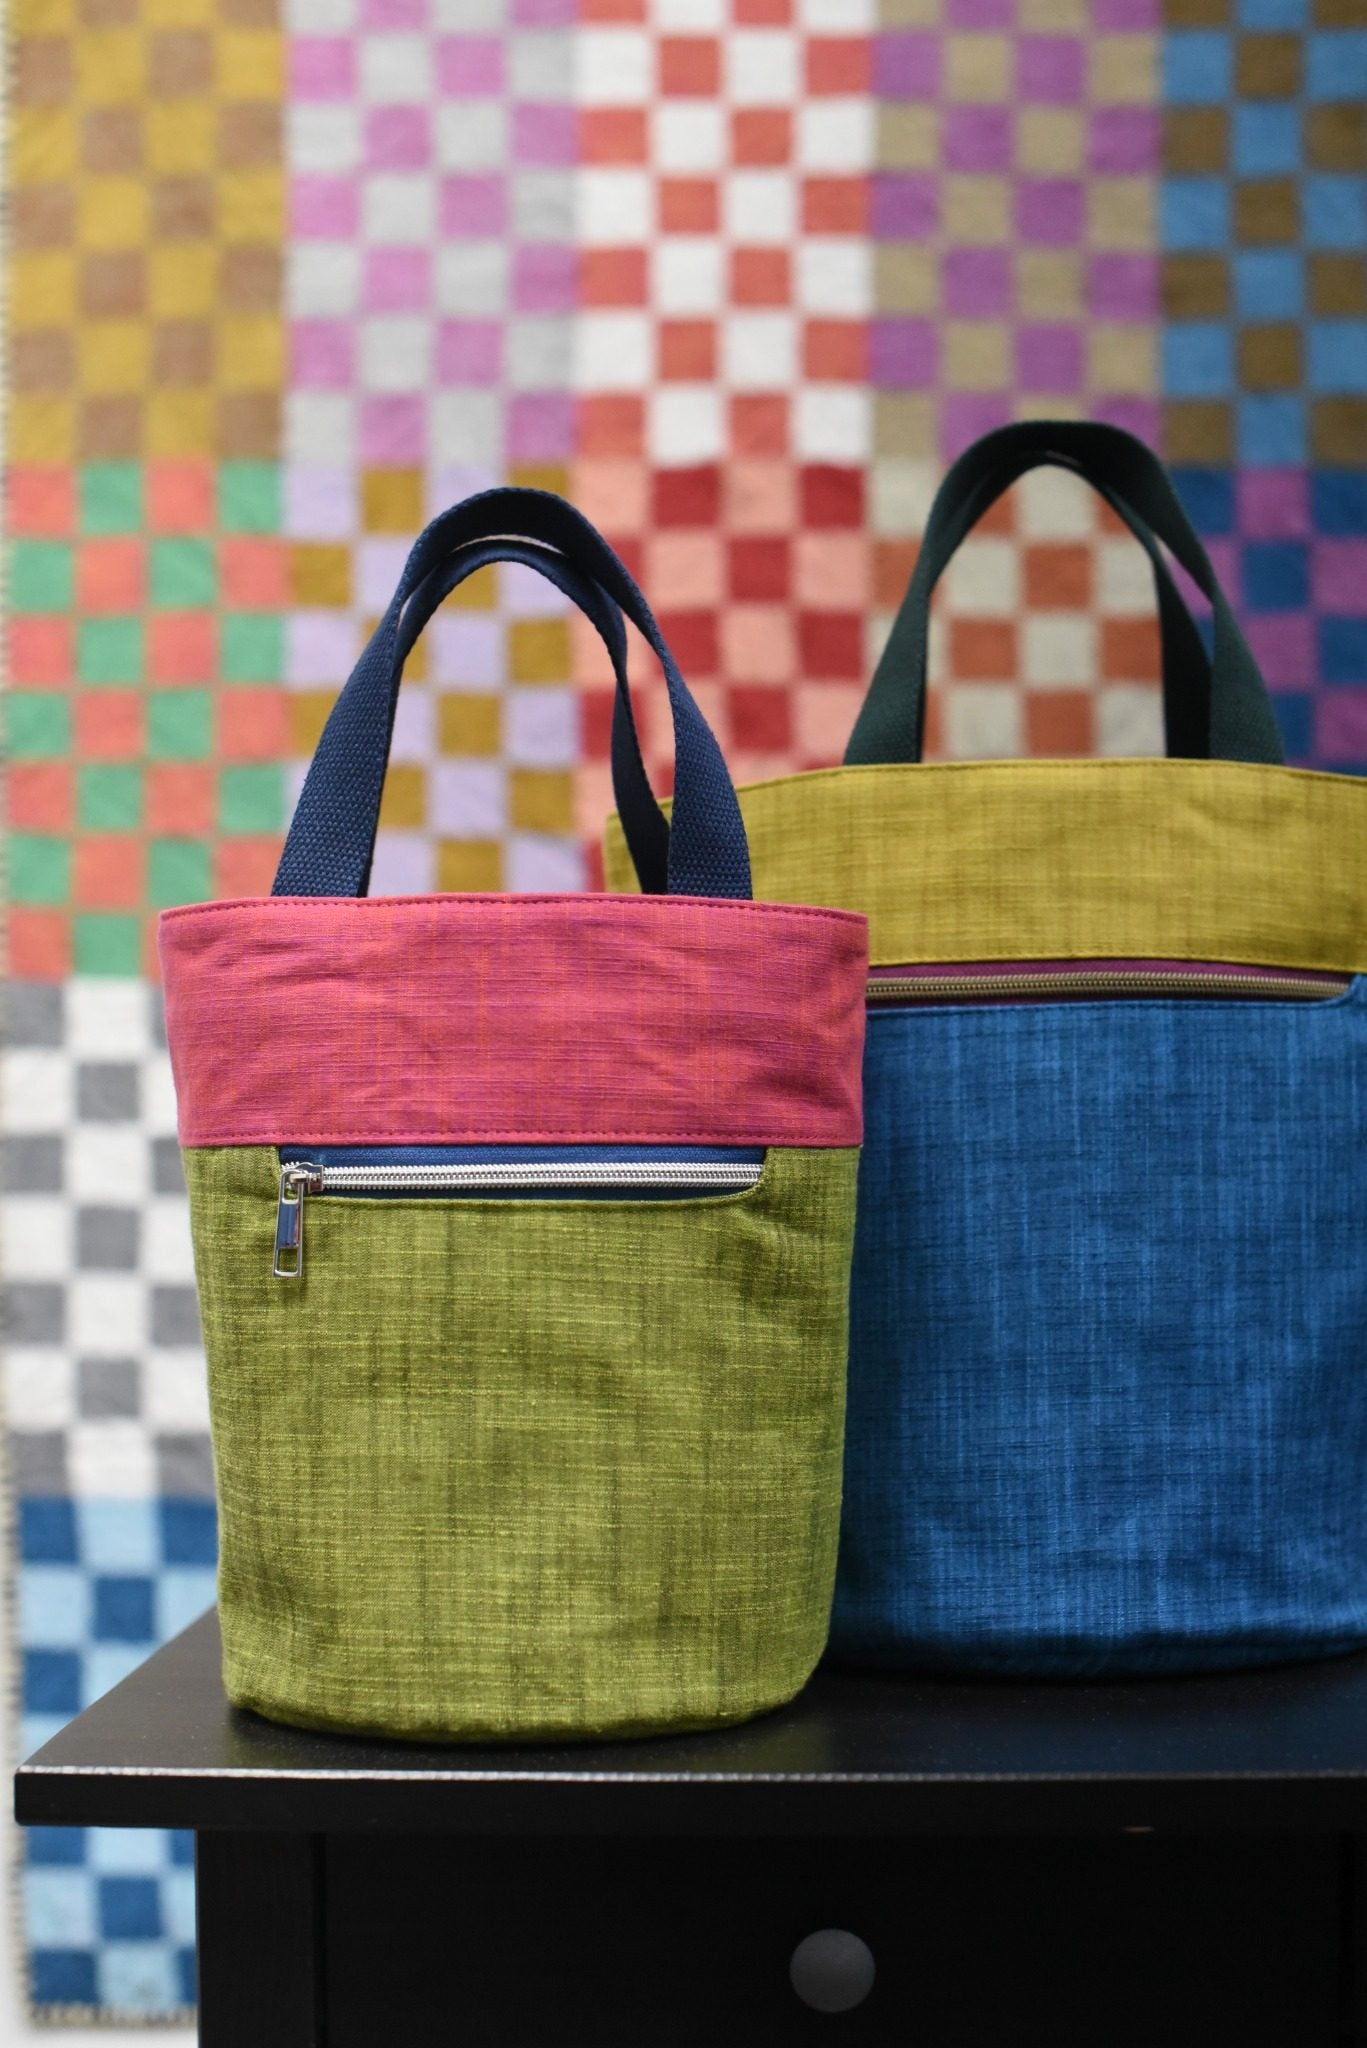

Designing My Fabric Collection: Handloom
Designing Handloom was such a joyful process and one deeply tied to my background in textile design. In this post, I’m sharing how I developed the colors, tested different woven textures and fabric weights, and worked with the mill to create a collection that feels vibrant, textured, and full of depth.
Learn more
Quilt Marking Tool Testing & Reviews
by Chelsea Hard Hello! If you don't know me (why would you?), I am Chelsea, Tara's Operations Assistant. You can usually find me answering emails, moderating Block Studies Zoom sessions, and helping write copy for Tara's video courses, website and this blog. Tara sometimes introduces me as the one who "bosses her to victory," which translates to "makes spreadsheets with dates on them and asks occasionally if something is done yet." Either way! Here I am! Nice to meet you! In this post, we're going to get into the challenging question of what marking tools are safe to use to mark quilting lines on your quilt tops. BIG DISCLAIMER: Even having done the following test, I want to provide a warning up front here (and probably again later) that this test was done with specific fabric from my stash, marks were left on the fabric for 24-48 hours and results may be different on your quilt top and depending how long marks are left on before washing. Basically, always test your marking tool on your fabric before you trust anything and don't come for us if it doesn't work out! I teach beginning quilting in-person and in a walking foot quilting class, I kept getting the same questions over and over about what tools did I trust to draw quilting lines on my quilt tops. My answer was always "none of them!" The only tool I have ever really trusted is a Hera Marker. This tool sets a crease into your fabric so there really is basically zero risk here. It irons or washes out and if you're sewing over the crease, it really doesn't even show. So what about the dozens of marking pens and pencils and chalks on the market? I will admit that when I set out to do this test, I did it for my own personal use so the documentation is pretty minimal and I didn't get a photo with all of the marking tools (some of which I borrowed from other quilting pals). The Test: Test all available (to me) marking tools by marking dark and light fabric, heat setting half of the test, washing, drying & placing in the freezer to see if the marks disappeared. The Tools: Roxanne's Quilters Choice Generals's Charcoal White Water Erasable <Fine> Clover White Marking Pen <Fine> Clover White Chaco Liner White Water Soluble Clover Pink Water Soluble Pencil Clover White Standard Peely Pencil Mark B Gone Fixion Felt Tip Fixion Ballpoint (black) Frixion Ballpoint (red) Crayola Washable Marker (red) Crayola Washable Marker (blue) Crayola Washable Marker (orange) Blue Triangle Tailor's Chalk (no brand) Bohin Blue Pencil Bohin White Pencil Water Erasing Styla Sewline Ceramic (white) Sewline Ceramic (pink) Sewline Air Erasing Air + White Soluble Ink Pentel Gel Roller for Fabric (permanent) Sharpie Ulta Fine Point (permanent) My Thoughts: Frankly, I was shocked by the results. Nearly all the tools washed out or washed out in a way that if you had quilted over the top of them (with the exceptions of those noted in the grid below) you wouldn't have been able to see the lines. A lot of the chalk pencils, frankly, weren't any fun to use because they were so dry, had lots of drag and well... were chalky. Even where they washed out, I much preferred the experience of using something with more of a marker tip that didn't have drag when you ran it across the fabric. The absolute standout from an experience and writing smoothness perspective was the Sewline Water Erasing Styla. I tried to be extremely critical of the results in the grid below, because I hate to tell you this, but even when I zoom in on the photo I just took, I can't see the faint lines left behind from some of the marking tools. If something wasn't faint (I'm talking about you Crayola Red), I noted that too. I was really surprised (though I suppose maybe parents won't be) that besides red, the Crayola markers washed out. Am I ever going to use a Crayola marker on my quilt top? Still no. The Frixion pens all washed out, including the red pen and did not reappear when left in the freezer or leave ghost marks when heat set, BUT I know that some folks have had them leave a ghost mark and those in the test were left on for a very brief period, so again, would I mark my quilt top with them (these pens that aren't intended for fabric use)? Again, no. Am I going to keep using them to mark the cut lines on a HST? Sure. I hope these results were helpful! Always test! I'm not thinking this far ahead when I start a quilt, but it might be a good idea to test your marking tool on some fabric swatch at the beginning of making your quilt top (so it gets left on the fabric for a while) and then do the test yourself. Then if it takes you 700 days to hand quilt something, you will at least have an idea if your chosen marking tool will be removable. Or you could take the optimist route and go "Well, didn't all this stuff wash out? Let's just draw all over this thing!" The choice is yours! What will I really do instead of that? Use a Hera Marker, because even after the test, even after the successes, it all makes me a little nervous! What do you think? What's your favorite marking tool? What are your marking tool horror stories? We want to know! Leave them in the comments. The Results: # Marking Tool Washed Out? Not Heat Set Washed Out? Heat Set Additional Notes 1 Roxanne's Quilters Choice Y Y Difficult to get a smooth line. Had some drag on fabric. 2 Generals's Charcoal White Y Y 3 Water Erasable <Fine> Clover Y Y 4 White Marking Pen <Fine> Clover Y N Difficult to get a smooth line. Had some drag on fabric. Left a faint mark when heat set on dark fabric. 5 White Chaco Liner Y Y This is Tara's preferred marking tool. Product is dusty and will not stay on for long, not good for pre-marking an entire quilt. 6 White Water Soluble Clover Y Y 7 Pink Water Soluble Pencil Clover Y Y 8 White Standard Peely Pencil Y Y Difficult to use on fabric. Had a lot of drag. 9 Mark B Gone Y Y 10 Fixion Felt Tip Y Y Marks did not return in the freezer after washing and drying. 11 Fixion Ballpoint (black) Y Y Marks did not return in the freezer after washing and drying. 12 Frixion Ballpoint (red) Y Y Marks did not return in the freezer after washing and drying. 13 Crayola Washable Marker (red) N N Left a red line that would be visible, like someone drew on your quilt with Kool-Aid. Oh yeah! 14 Crayola Washable Marker (blue) Y Y 15 Crayola Washable Marker (orange) Y Y 16 Blue Triangle Tailor's Chalk (no brand) Y Y 17 Bohin Blue Pencil Y Y 18 Bohin White Pencil Y Y Difficult to use on fabric. Had some drag. 19 Sewline Water Erasing Styla Y Y Super smoother writing experience on fabric. 20 Sewline Ceramic (white) Y Y 21 Sewline Ceramic (pink) Y Y 22 Sewline Air Erasing Y Y 23 Air + White Soluble Ink Y N Left a faint mark on dark fabric when heat set. 24 Pentel Gel Roller for Fabric N N Much darker than the Sharpie. Would use for quilt labels instead. 25 Sharpie Ulta Fine Point N N Used to mark all the labels on the test.
Learn more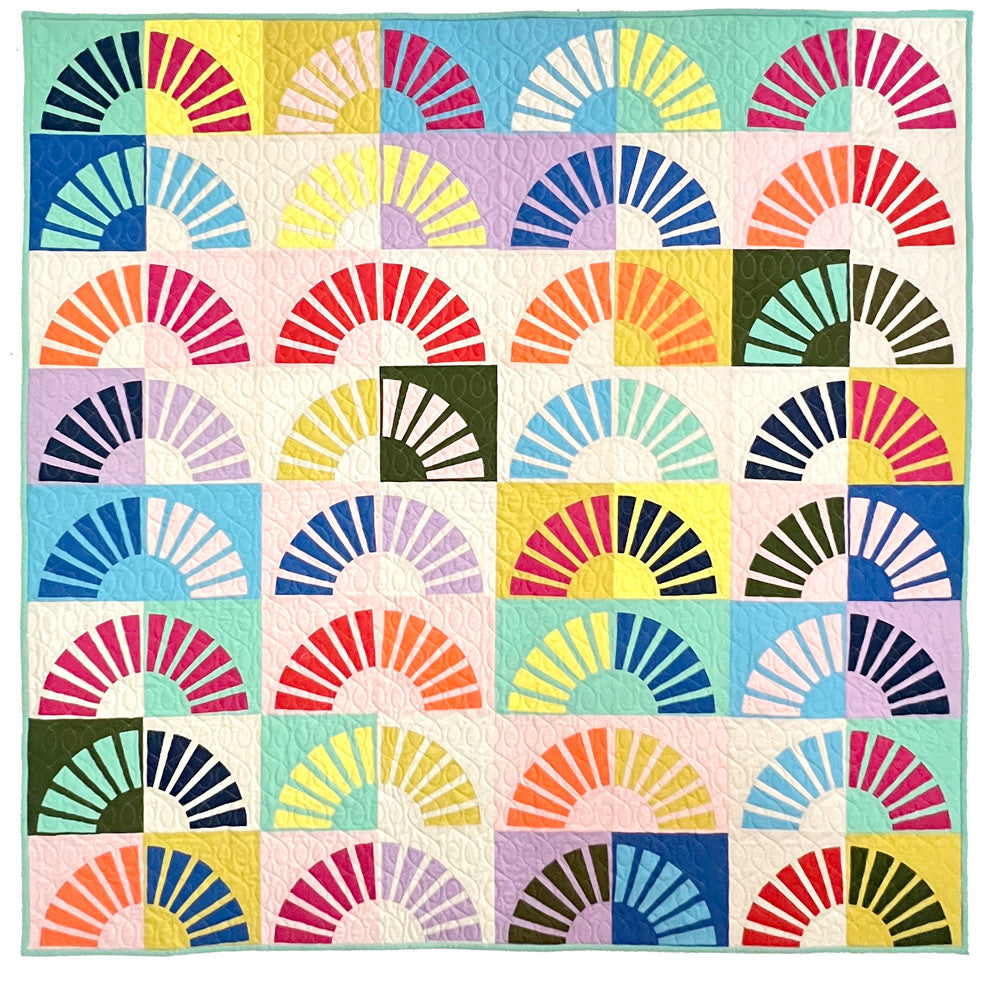
Sunny: Design Inspiration
My newest quilt pattern and video course for my Sunny Quilt is available now and today I'm sharing some design inspiration to get you excited about this versatile quilt pattern.
Learn more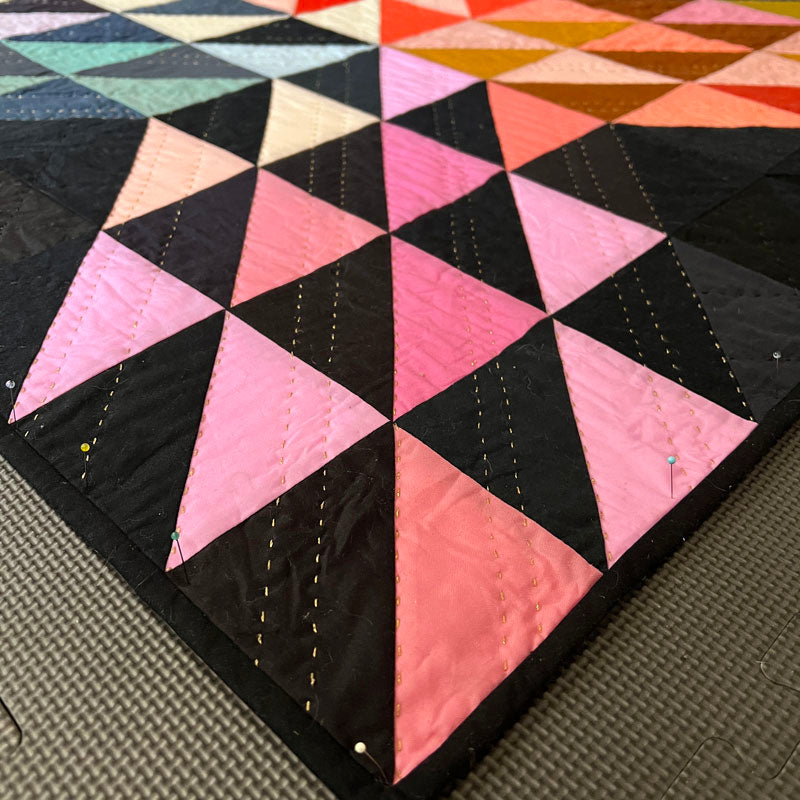
How to Block a Quilt
If you knit, you will know all about blocking. It's the act of getting your finished project wet, then securing it to a flat surface to dry in an effort to make it dry flat.
Learn more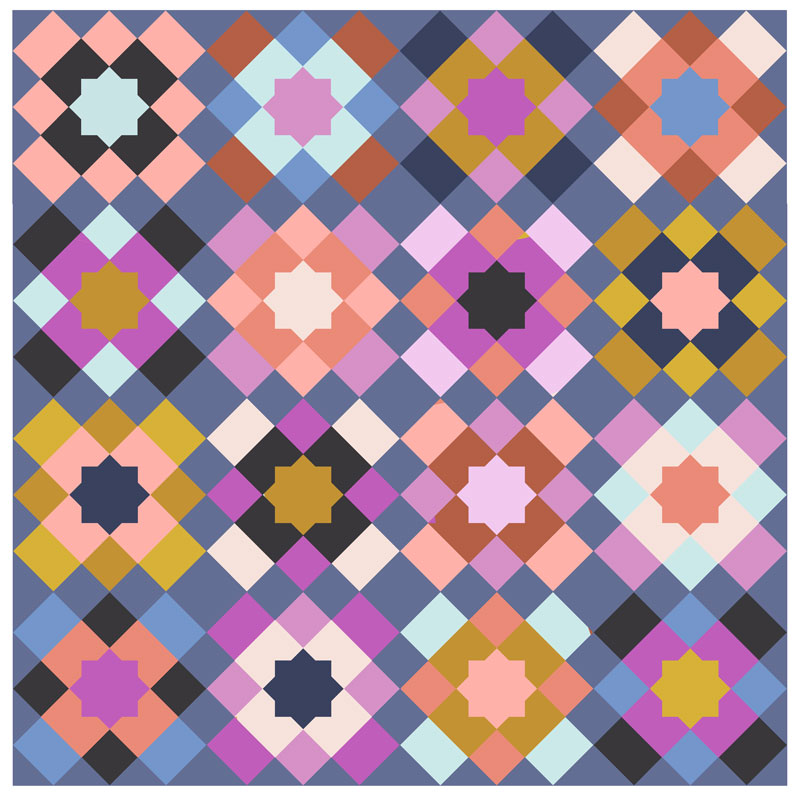
Marrakesh Quilt and Color
Hello quilters! I'm excited to share Marrakesh with all of you! This pattern gives you the freedom to experiment with color and how you want to break down the block, allowing each quilter to create a personalized look. So, let's talk a bit about elements that can really change how this block looks – color and value. Color Choices First off, let's talk about color. It's pretty straightforward; the colors you choose have a huge impact on your quilt's overall look and feel. For instance, cool colors like blues and greens can create a calm and soothing atmosphere, while warm colors like reds and oranges can give your quilt a cozy and inviting vibe. Additionally, where you put the colors in the quilt blocks creates a wonderful variety of looks! A Bit About Value & Contrast Light fabrics bring brightness, while dark ones add depth. Combining light and dark fabrics can create that eye-catching contrast that makes your quilt design stand out, or fade into a soothing calmness. When you play with contrast by pairing light and dark fabrics, you can really make your quilt design pop. High contrast creates bold, striking visuals, while low contrast offers a softer, more delicate touch. Pictures are the best way to showcase some examples of these design elements. I hope the mockups below will get your design mind buzzing and inspire you to play with this block! Have fun sewing! Tara You can purchase the pattern HERE!
Learn more
Marrakesh Block Variations
I'm excited to share Marrakesh with all of you! This pattern gives you the freedom to experiment with color and how you want to break down the block, allowing each quilter to create a personalized look.
Learn more
Traverse Quilt Pattern Now Available
Learn about different color possibilities for your next Traverse quilt!
Learn more
Big Ocean Sew Along Week 7 - Final Week!: Quilting and Finishing Our Big Ocean Quilt
Welcome to Week 7 of the Big Ocean Sew Along, our final week! Now that we have a quilt top put together, we need to decide how to finish it. This week I’ll share with you my process for deciding how to quilt each of the Big Ocean quilts I’ve made, and give you some tips for quilting yours. Be sure to join us tonight at 4pm on Zoom at the Big Ocean Sew Along Wrap Up Party! We’ll show off our quilt tops and other progress, and troubleshoot quilting plans if anyone needs help! There are so many options for quilting your Big Ocean quilt. I love how hand quilting looks, so I will probably be hand quilting my niece’s Big Ocean baby quilt. Truth though, I've run out of time and haven't basted the quilt, but I have a deadline of mid November so I can give it to her for her birthday!! My favorite threads are Wonderfil, and I carry them over in my shop. I usually use a 12wt thread to give my quilts a pop of color and texture. One thing I like about Wonderfil thread is that it has visual impact, but it is still light enough to pull through the quilt easily. Hand quilting can be used in so many ways. You can quilt your entire quilt by hand, or add just a few lines of hand quilting with mostly machine quilting to add some areas of interest to the overall design. Be sure to check out my Hand Quilting on-demand workshop if you’re new to hand quilting, or if you’re an experienced hand quilter and looking for a few tips and tricks to add to your practice. When deciding on my quilting plan for my Big Ocean quilts, whether I was hand quilting or machine quilting it, I made sure to accentuate that X shape that was so prevalent in the design. The quilting design you use can pull out shapes that are in the piecing and add so much to the finished design of your quilt. You might want to highlight the diamond shapes created by the HSTs or emphasize other lines and shapes that you love in this design. I can’t wait to see what you all decide on for your finished quilts. Be sure to share them on Instagram or Facebook, and tag #bigoceansal and #bigoceanquilt so I can see all your progress! Thank you so much for your enthusiasm for this pattern, and for sewing along with us these last seven weeks. I hope to see you tonight for our official sew along wrap up party! Check the sew along newsletter for the link. Here's the link to the hand quilting class if you want to check it out! https://tarafaughnan.com/collections/on-demand-classes/products/hand-quilting-on-demand-workshop
Learn more
Big Ocean Sew Along Week 6: Block and Top Construction
It’s hard to believe it is already week 6 of the Big Ocean Sew Along! We have done all of the design work. All that’s left is to sew our blocks together, and finish our quilts! These last steps are about using whatever small tips and tricks you have for using precision and sewing accuracy to influence the final look of your Big Ocean quilt. Today, I’ll be sharing a few techniques I use for that. Now that your design is final, you are ready to start sewing our blocks together. At this point in the process, take a picture to use as reference while you sew your blocks. The pattern refers to a block as the lozenge shape with our foreground colors, and the background colors on each corner. Be sure to sew your quilt top together in blocks first to keep everything in your design right where you want it to be. As you take your blocks down to be sewn together, be sure to keep them in order. I have a specific order I like to take mine down in. You might like to start with the block in the top left and work right to left, or maybe you do all the blocks in a column and start on the next column. Whatever order that works for you is great, but I recommend sticking to it so you don’t get lost! Start with a block and pull it down to be sewn together. I like to take the whole block down and lay it out on my sewing table. As I sew my HSTs together, I press the rows to alternating sides so that I can nest my seams later. You can always press your seams open if that is your preference. Nesting works for me, but I know that pressing flat or to the side is a hotly debated topic in the quilting community! Haha. If you are pressing to the sides, be sure to keep track of the direction you press so that you can nest your seams from one block to the next across the rows in your quilt, and down each column. For accuracy, I like to pin my seams as I sew rows of HSTs together in each block, and as I sew the blocks together in the final quilt top construction. A tailors clapper, or workable substitute, will help you press everything as flat as possible, which gives you a bit more accuracy in your sewing. Every bit helps! I use a small cutting board as a tailor’s clapper. You can even use the cardboard back of a pad of paper. A clapper catches the heat as it comes off your recently pressed fabrics and holds the heat on your fabrics for a few seconds longer, making your fabrics even flatter. Once you have all your blocks sewn together, get them back up on the design wall for one final look. Check the photo you took at the beginning to be sure your blocks are all in the right place. Sew your blocks into rows or columns. Sew your rows or columns together. Congratulations! Your Big Ocean quilt top is done! If you think you might hand quilt your Big Ocean quilt, check out my on demand workshop, Hand Quilting, a comprehensive guide to hand quilting for left and right-handed quilters. Come back next week for our final week of the Big Ocean Sew Along and join us for the Zoom wrap up party. See you then!
Learn moreInvalid password
Enter