Big Ocean Sew Along - Week 5: Designing and Sewing The Background
Welcome to Big Ocean Week 5! We are more than halfway through making our quilt and the end is in sight. Be sure to join us at our Zoom progress party tonight! You can share your Big Ocean quilt progress, and ask the group if you have any questions about colors, HSTs, or any other Big Ocean quilt questions. Check your emails for the link.

It feels like I’ve been making HSTs for days and days, but with the foreground designed, all we have left to do is design and sew the background HSTs, then sew our blocks together next week! I don’t want to get ahead of myself, though. Let’s get working on our background!

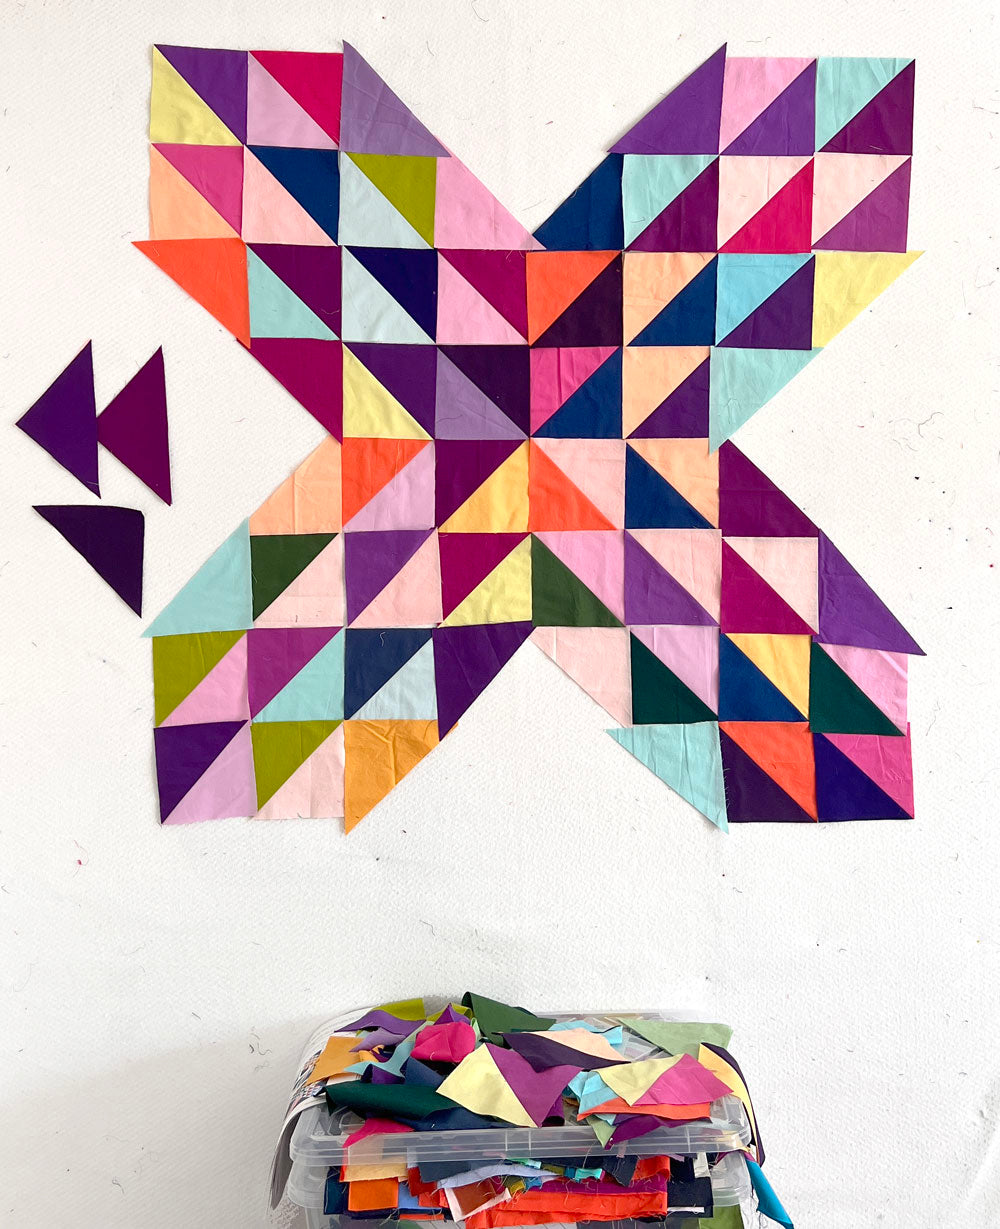
Now that we have our foreground mostly laid out - maybe we used a few single triangles filling out our lozenge shape so we could get an idea of what how we want our foreground to come together. Sometimes I have a pretty good idea of what I want my background color to be by this point in the process, but sometimes I need to audition colors. To do that, I take yardage or a large scrap of a few colors and place them in those empty background spots. For one of my Big Ocean quilts, I auditioned ochre, pink, and dark blue. For that quilt, I went with dark blue. For my nieces quilt, I started with purple in mind for the background and as it has come together, purple is still my first choice for the background.

Once you have your background color chosen, you can audition multiple shades to get an idea of how dynamic you want your background to be. You can add some movement with a handful of colors, or keep it simple and use one color. Take a look at some options and decide what works best for your design. Once you’ve decided on your colors, you’ll start cutting triangles for HSTs. Be sure to lay out your background on the design wall before you sew your background HSTs. Because you’re designing in such a small spot, rather than the entire foreground, the placement of these triangles is really important for your overall design. You’ll want to match up background colors to those individual foreground triangles you laid out earlier and then fill in the rest of the background. Be sure to check out my on demand course, Value Creates The Design. I have some great tips in there about how value can add movement and contrast to your quilts.

Be careful with bias edges! You’re working with individual triangles for the background, and that diagonal cut can stretch on you while you’re sewing. If you notice that you have some bowing in your triangles, be sure to adjust your presser foot tension to try to address that.

Once you get your background HSTs cut, put them up on the design wall - or down on the design floor, whatever your sewing space allows! Take a step back and use the tips I shared earlier in the sew along to get a final look at your background and your finished design. Put some space between you and your design. Look at it from across the room, or take pictures of it. You’d be surprised how differently you see your quilts in a photo. Make adjustments to your design if you need to - move around some HSTs or change out some colors - and get ready to sew your blocks together next week!
If you'd like to work ahead, or if you want more detailed guidance for every step of making your Big Ocean quilt, take a look at my Big Ocean Quilt on-demand workshop.


