Big Ocean Sew Along Week 6: Block and Top Construction
It’s hard to believe it is already week 6 of the Big Ocean Sew Along! We have done all of the design work. All that’s left is to sew our blocks together, and finish our quilts! These last steps are about using whatever small tips and tricks you have for using precision and sewing accuracy to influence the final look of your Big Ocean quilt. Today, I’ll be sharing a few techniques I use for that.

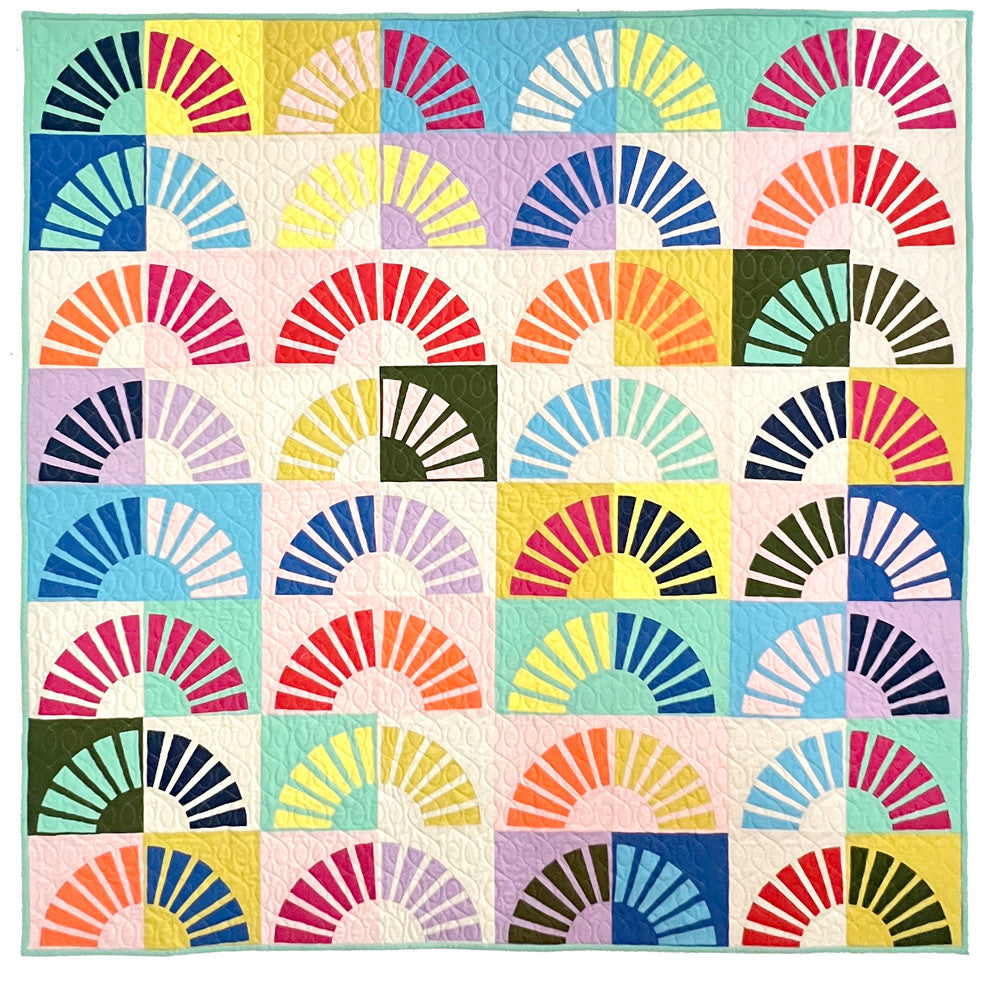
Now that your design is final, you are ready to start sewing our blocks together. At this point in the process, take a picture to use as reference while you sew your blocks. The pattern refers to a block as the lozenge shape with our foreground colors, and the background colors on each corner. Be sure to sew your quilt top together in blocks first to keep everything in your design right where you want it to be. As you take your blocks down to be sewn together, be sure to keep them in order. I have a specific order I like to take mine down in. You might like to start with the block in the top left and work right to left, or maybe you do all the blocks in a column and start on the next column. Whatever order that works for you is great, but I recommend sticking to it so you don’t get lost!

Start with a block and pull it down to be sewn together. I like to take the whole block down and lay it out on my sewing table. As I sew my HSTs together, I press the rows to alternating sides so that I can nest my seams later. You can always press your seams open if that is your preference. Nesting works for me, but I know that pressing flat or to the side is a hotly debated topic in the quilting community! Haha.

If you are pressing to the sides, be sure to keep track of the direction you press so that you can nest your seams from one block to the next across the rows in your quilt, and down each column. For accuracy, I like to pin my seams as I sew rows of HSTs together in each block, and as I sew the blocks together in the final quilt top construction. A tailors clapper, or workable substitute, will help you press everything as flat as possible, which gives you a bit more accuracy in your sewing. Every bit helps! I use a small cutting board as a tailor’s clapper. You can even use the cardboard back of a pad of paper. A clapper catches the heat as it comes off your recently pressed fabrics and holds the heat on your fabrics for a few seconds longer, making your fabrics even flatter.

Once you have all your blocks sewn together, get them back up on the design wall for one final look. Check the photo you took at the beginning to be sure your blocks are all in the right place. Sew your blocks into rows or columns. Sew your rows or columns together. Congratulations! Your Big Ocean quilt top is done! If you think you might hand quilt your Big Ocean quilt, check out my on demand workshop, Hand Quilting, a comprehensive guide to hand quilting for left and right-handed quilters. Come back next week for our final week of the Big Ocean Sew Along and join us for the Zoom wrap up party. See you then!


